You have decided to dive into the weaving body and get that loom warped, and you are overweighed down by it all. You and every seasoned weaver started. First, it may sound like a scary process to warp threads for weaving, but it does not have to be once you have the right guidance and tools to get it done.
You will be covered by measuring and cutting your yarn through the steps of the warping process and then winding your yarn onto your loom in this comprehensive guide. In addition, you will receive expert tips for preventing tangles and fixing mistakes, and you will have even tension.
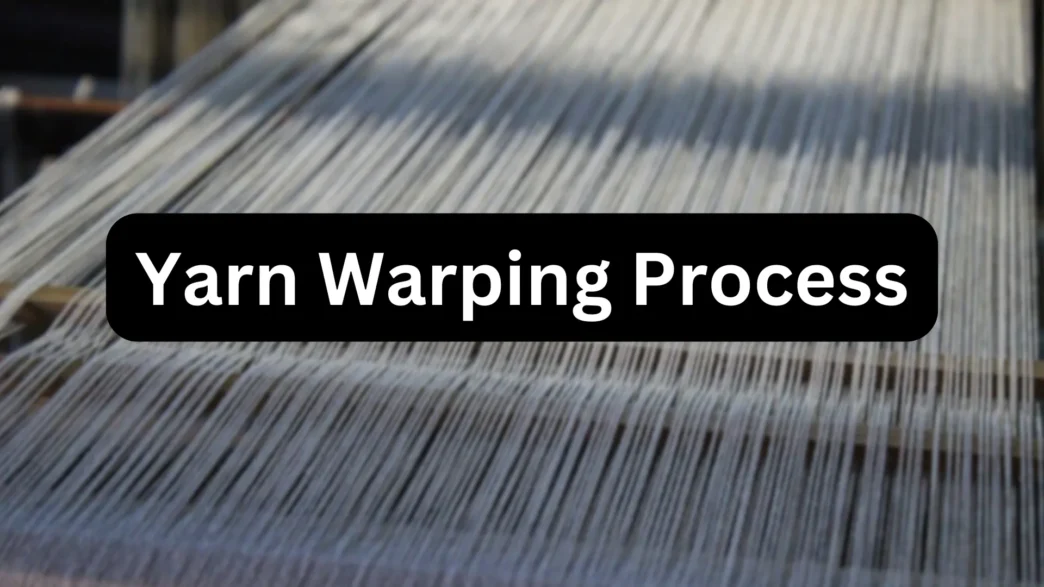
What Is Warping in Weaving?
Warping is preparing your fabric’s warp threads or vertical threads for your loom. It involves:
- Be winding the warp threads on a warp beam.
- Spread the threads evenly to weave the loom.
- Keeping the threads tied to hold the tension and order.
Warping done correctly lays the groundwork for a good handwarp and balanced fabric.
Warping Basics: Supplies You will Need
Before you begin, gather these essential tools:
Warp Yarn
Pick a yarn of a similar type (fiber, weight) as your weft yarn. Beginners should use medium-weight cotton or wool.
Warping Board or Frame
Measurement and organization of all your warp threads have become problems of the past with this tool.
Raddle or Warp Separator
A raddle keeps the threads spaced and does not become tangled up during warping.
Lease Sticks
These keep the warp’s cross (order of threads) with transfer to the loom.
Heddles
These control whether or not warp threads are raised or lowered.
Warping Your Loom – Step By Step
Measure and Cut Your Warp Threads
- Cutting your warp threads is easy and fun, but cut them first and measure them later!
- Figure out how many and how long your threads need to be.
- Regular threads are wound around pegs using a warping board, evenly spaced.
- As an end, tie off the warp bundle to prevent tangling.
Attach the Warp to the Loom
- Take the warp threads from the board, leaving them as they lay.
- It secures the one end to the back beam of the loom and spreads the threads out as even as you can with a paddle or raddle.
Wind the Warp Onto the Beam
- Warp threads are slowly wound onto the back beam, at a constant tension.
- Place paper or even sticks between layers of threads to avoid soap tangles.
Thread the Loom
- Weaving pattern Follow this through warp thread along the heddle.
- Keep the threads even when pulling them through the reed.
Tie On and Adjust Tension
- Once the front beam threads are secured, ensure all are at the same tension.
- Pluck the threads and check tension; they should all sound the same pitch.
Tips for Success
- Take Your Time: Warping too quickly can cause uneven tension and/or tangles.
- Double-Check Your Work: Wet them, weave them, and make certain to tie and space threads properly.
- Fix Mistakes Early: Take care of a tangle or misthreaded warp immediately to keep things from worsening.
- Use Tools Wisely: You can save yourself time and frustration with lease sticks and raddles by organizing threads.
FAQs
How much yarn do I need for my warp?
The amount will depend on your loom’s width and project size. In general, plan on 2-3 times the width of your loom in yards. Always get extra because there will be waste and errors.
What if my warp threads become tangled?
Stay calm! Using your fingers or a threading hook, gently untangle threads. In severe tangle,s it may be necessary to re-wind the affected section.
How do we keep the same tension?
A warping board or frame is used to keep thread parallelism. Tension, tension, tension, tension, check regularly and minor adjustments as you wind threads on the beam.

Olivia Hart is a business analyst passionate about entrepreneurship, providing insights and strategies for startups and established companies alike.